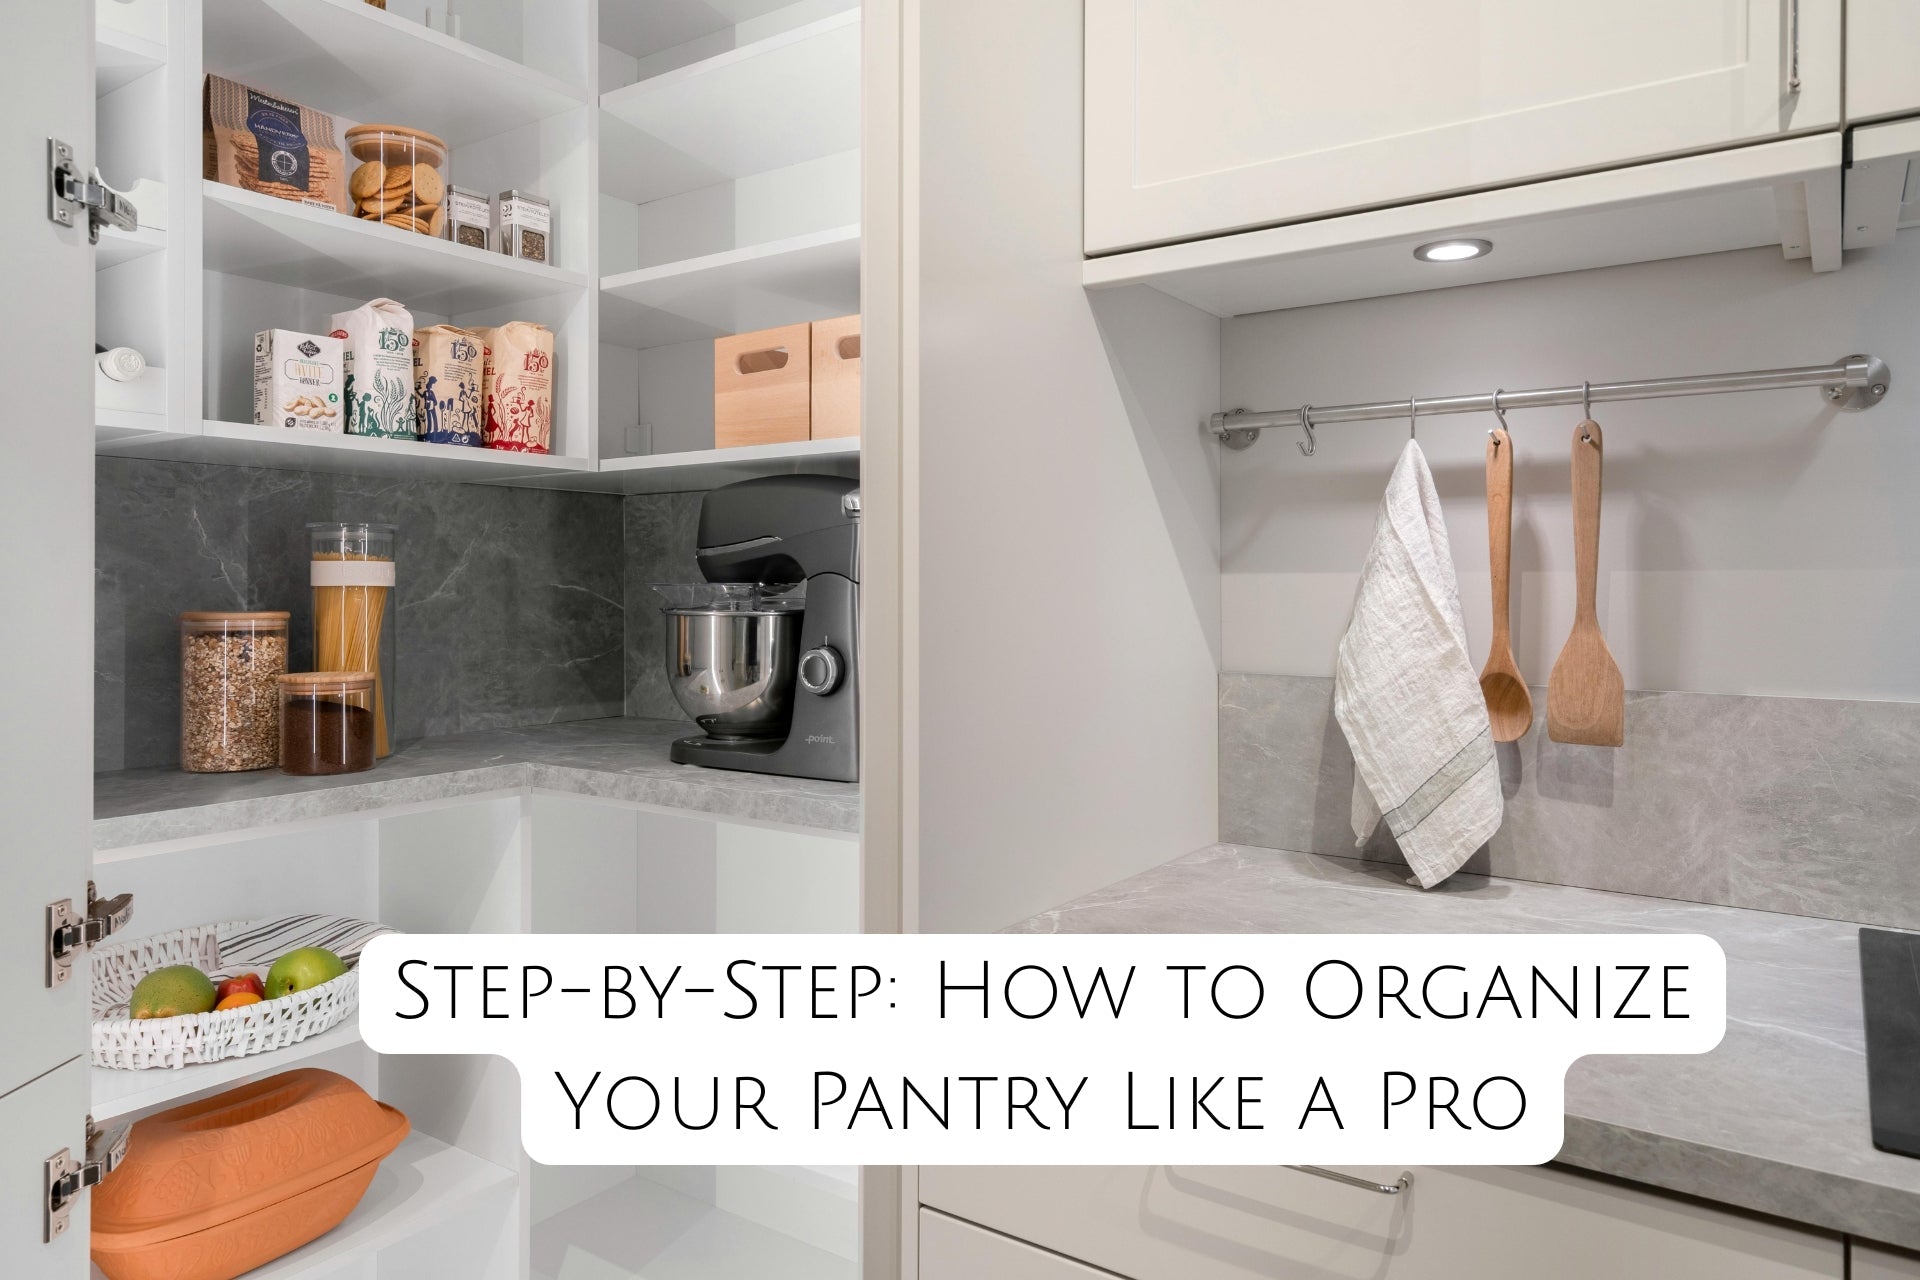
A well-organized pantry isn’t just about making your kitchen look pretty — it can actually save you time, money, and stress every day. Imagine easily finding your favorite snacks, never buying duplicate ingredients again, and cooking meals faster simply because your pantry works for you, not against you.
If you’re ready to finally tackle that cluttered pantry, this guide will show you exactly how to organize it like a pro — even if you’ve tried and failed before!
Why Organizing Your Pantry Matters

Before we dive in, let’s talk about why pantry organization is such a game-changer:
-
Saves Money: No more buying ingredients you already have but couldn’t find.
-
Reduces Food Waste: You’ll use items before they expire.
-
Speeds Up Meal Prep: No more hunting through messy shelves for that one ingredient.
-
Makes Your Kitchen Feel Bigger: Clear spaces feel more open and calming.
-
Reduces Daily Stress: An organized space helps you start and end your day with ease.
The Ultimate Step-by-Step Pantry Organization Guide

Completely Empty the Pantry

Take everything out — yes, everything! Place items on your counter or kitchen table where you can see them all at once.
While the pantry is empty:
-
Wipe down the shelves with a mild cleaner.
-
Check for signs of pests (especially if you store grains).
-
Assess your pantry space — measure if needed, so you can buy the right storage items later.
Pro Tip: Use this moment to visualize how you want your pantry to function!
Sort Items Into Logical Categories

Group your pantry items into categories. Some easy groupings include:
-
Baking Supplies (flour, sugar, baking powder)
-
Canned Goods (vegetables, beans, soups)
-
Breakfast Foods (cereal, oatmeal, pancake mix)
-
Snacks (chips, granola bars, cookies)
-
Spices and Condiments
-
Pasta and Grains
-
Beverages (coffee, tea, drink mixes)
-
Kids' Lunch Items
-
Extras/Backup Stock
Pro Tip: Use shallow boxes or bins during sorting to keep things grouped together!
Check Expiration Dates
As you sort, check expiration dates carefully:
-
Toss anything expired or stale.
-
Donate unopened, non-expired items you know you won’t use to a local food pantry.
Pro Tip: This step is key for preventing food waste — and freeing up a lot of space!
Plan Your Pantry Layout

Before putting anything back, think strategically:
-
What items do you use most often? (Put those at eye level!)
-
What items are heavy? (Store them lower to avoid accidents.)
-
What items can be grouped together for better flow? (Think breakfast shelf, snack shelf, etc.)
Pro Tip: Leave space for future groceries! Don’t overpack.
Invest in Smart Storage Solutions

You don’t need to spend a fortune — but a few smart tools will transform your pantry:
Clear Bins
→ Perfect for grouping snacks, kids' lunch items, or baking goods.
Stackable Containers
→ Great for storing dry goods like pasta, rice, cereal, and flour.
→ Airtight containers also keep food fresher longer.
Lazy Susans
→ Ideal for oils, sauces, vinegars, or even small snack packets.
Tiered Shelves
→ Perfect for displaying canned goods — no more forgotten cans at the back.
Over-the-Door Organizers
→ Maximize vertical space by storing spices, wraps, or small snacks.
Labels and Chalkboard Tags
→ Essential for maintaining your system (and they look beautiful too!).
Pro Tip: Choose clear containers when possible — seeing everything at a glance helps prevent overbuying!
Refill Your Pantry Strategically

Now, start placing your sorted items back into your newly clean pantry:
-
Store everyday essentials at eye level.
-
Use the highest and lowest shelves for backup stock or less-used items.
-
Keep similar items together by category.
-
Avoid stacking heavy items too high — it creates clutter fast.
Pro Tip: Keep a “First In, First Out” system — older items at the front, newer purchases at the back.
Label Everything

You might think you’ll remember what’s in each container — but trust us, labeling is a game-changer.
Ideas for Labels:
-
Chalkboard stickers (erasable and cute!)
-
Printed clear labels
-
Handwritten tags for a rustic look
Label both the bins and the shelves if needed. This keeps the system super simple for your family to follow, too.
Maintain Your Pantry with Monthly Check-Ins
Set a calendar reminder once a month to:
-
Check for expired items
-
Wipe down shelves and containers
-
Reorganize anything that’s out of place
It’ll only take 10 minutes — but it will keep your pantry looking amazing all year long!
Pro Tip: Create a “shopping list station” nearby where you can jot down things you’re running low on as you notice them.
Bonus Tips for a Pinterest-Perfect Pantry ✨
-
Uniform Containers: Matching containers create a clean, cohesive look.
-
Color Code by Category: Helps with visual organization (e.g., red bins for snacks, blue bins for baking).
-
Add Lighting: LED strip lights or motion-sensor lights can make a dark pantry feel bright and inviting.
-
Decorate a Little: A cute sign, a mini chalkboard, or pretty jars can make your pantry a place you’re proud to show off!
Final Thoughts

Organizing your pantry may feel overwhelming at first, but once you break it down step-by-step, it’s totally doable — and so worth it.
A well-organized pantry saves you time, money, and stress, and brings joy back into your daily kitchen routine.
So grab your bins, get labeling, and transform your pantry like a true professional — you’ve got this!


